Security is the most important thing when it comes to building and maintaining your WordPress website. It’s even more important than designing your site.
With the number of attacks happening on websites every day with hackers compromising passwords, adding malware and doing other things, it’s important to add two factor authentication in WordPress!
And this blog post is all about that! I’ll show you what it is and how to enable that with 2 different methods on your websites!
What is Two Factor Authentication and why you need it
So let’s start with the basics before diving into the tutorial. Single-factor authentication means that you will only have to enter the username and password to log in. Hackers can easily guess these passwords and usernames by malicious means. And if you are someone that uses ‘password’ or ‘123456789’ as your password, then it won’t be long before you see your site get damaged and hacked.
On the other hand, 2-factor authentication means that apart from entering your username and password, you will have to answer another layer of security questions. And in most cases, it is by telling a ‘One-Time-Password’ which comes to your mobile number. This can reduce your risk quite a lot!
OK. Enough definitions. What about Adding Two Factor Authentication in WordPress?
Well, I will be using 2 different plugins to accomplish this task. So the first plugin I will use is called Defender.
Defender

What is it? Defender is a complete WordPress Security plugin that increases the security of your site a LOT! It has a beautiful interface and tons of features and the free version is EXTREMELY GENEROUS! For starters, here’s what all you can do with the plugin:
Tutorial
Step 1. Go to Plugins > Add New in your WordPress Dashboard. Over there search for ‘Defender’ and install and activate the plugin
Step 2. Once you have installed the plugin, go to ‘Defender’ in the WordPress sidebar and select the option which says ‘Activate & Configure’. Now Defender will apply some recommended settings to your website and you will be able to fine-tune the settings now!
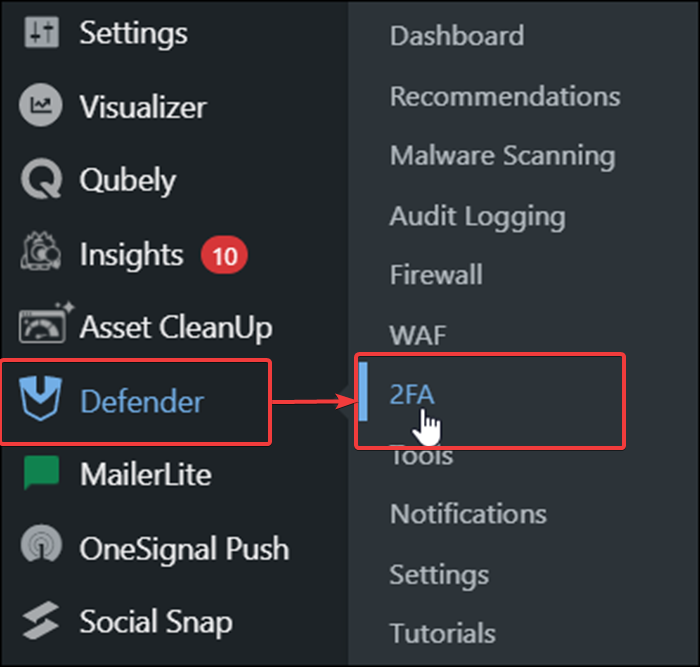
Step 3. Now you will be in a dashboard where you can fine-tune settings as you need to. The option we are looking for is 2FA. You can find that option by going to Defender > 2FA in your WordPress Sidebar. Once you reach that page you need to click on the button which says ‘Activate’.
Step 4. Now we need to configure 2 Factor Authentication settings. First up, you need to select the user roles you want to enable the authentication for. If you are a single person running the website like me, then choose the ‘Administrator’ option.
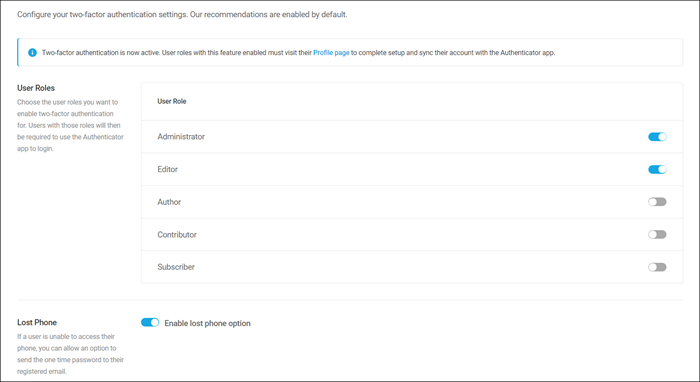
Step 5. Now select the lost phone option as you can receive the OTP on your email if your phone isn’t available. You can also select whether you want to force 2 Factor Authentication for all the users of your site. Now enter the app title, you can enter something like ‘My Site Authenticator.’
Step 6. Select the authentication service you want to use with your site. You have 3 options here, Google Authenticator, Authy and Microsoft Authenticator. We will be using Google Authenticator for this tutorial. Now click on the ‘Save Changes’ button.
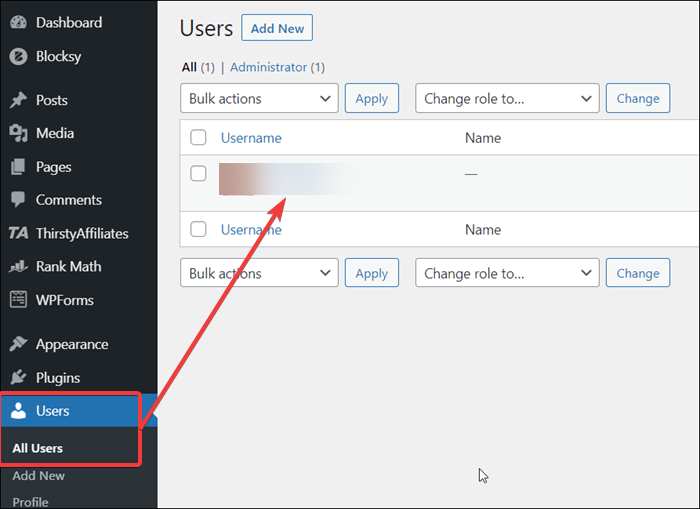
Now we will have to enable the authentication for separate users, by going into ‘Users > All Users’. If you have a large website with many people working on it, then simply choose the ‘Force Authentication for all users’ option from Defender. Now, click on the edit button below a profile.
Step 7. Scroll down to the bottom of your Profile page until you see a heading that says Security and click on the ‘Enable’ button.
Step 8. On your phone, download the Google Authenticator app from Play Store/App Store(Depending on your OS).
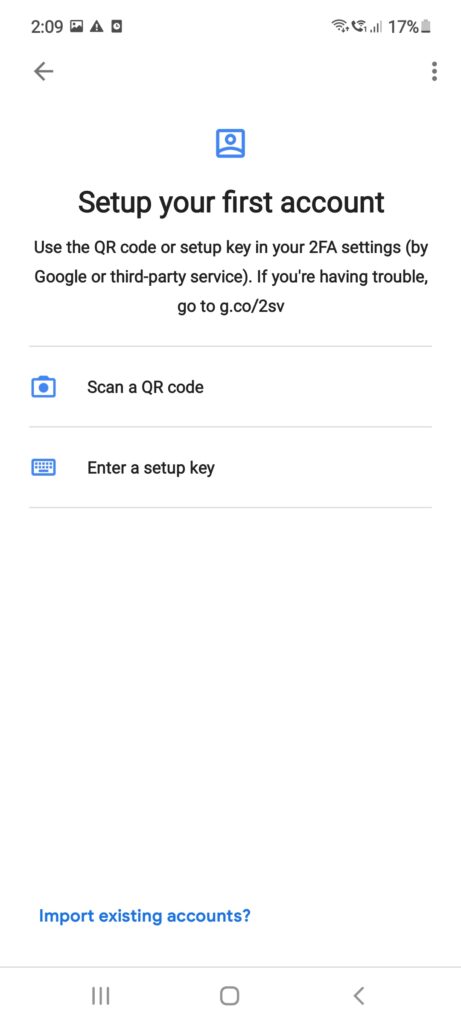
Step 9. Once you have downloaded the app, click on the get started button. Then select the ‘Scan a QR code’. Now scan the QR code that Defender show on the setup page. Your account and site will appear in Google authenticator and click on the Add Account option now.
Step 10. Enter one of the codes which Google Authenticator shows in the field on the profile page. That’s it! 2 Factor Authentication is now active on your site!
WP 2FA
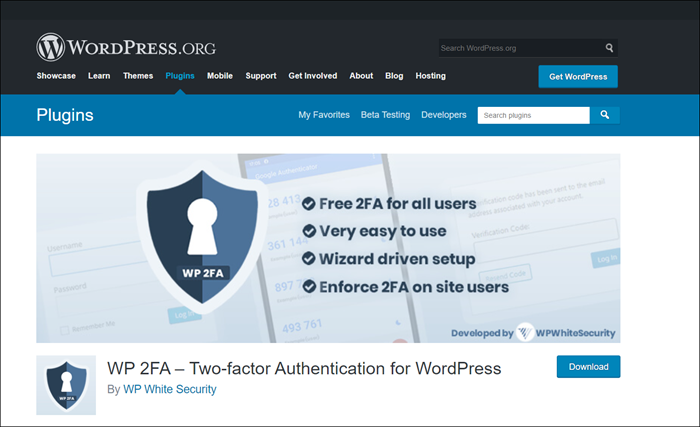
Defender was an all in one security plugin. If you don’t want that kind of plugin and want a standalone plugin for 2FA, then WP 2FA is a great choice. It is actively maintained and is free. The steps for this plugin are:
Step 1. Install it by going to Plugins > Add New and search for WP2FA.
Step 2. Now, you will be in a setup wizard. First up, you will have to choose the type of 2FA you want. Whether you want the code to be delivered on your phone using different apps, or do you want the code to be sent over to your email. We have already covered how to do it with phone apps, so we will be using email this time.
Step 3. Now select the email you want the code to be sent to.
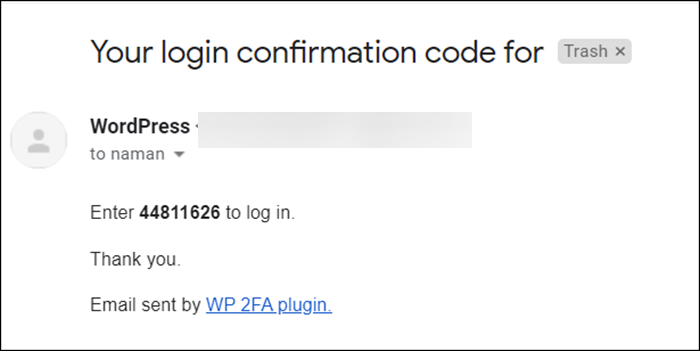
Step 4. The plugin will send a code to your email for verification. Enter that code in the plugin field.
Step 5. Now you will have two options, whether you want to continue setup wizard or you want to configure them later. We will continue with the first option.
Step 6. The next few options are more useful for multi-people websites. You can enable the options which other people on your site can use. You can force if all users need to enable 2FA or not. Next, you can exclude some users or roles from 2FA. You can also set up the grace period in which users have to configure 2FA otherwise their accounts are locked. Lastly, you can notify all users of this upcoming 2FA policy.
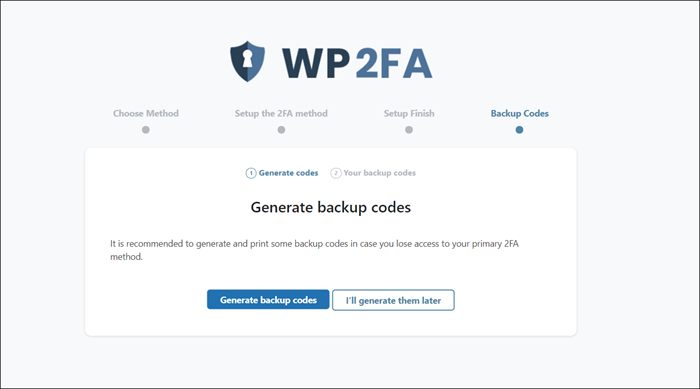
The best part with this plugin is that you can generate some backup codes which can be used in case your 2FA method can’t be used due to some problem.
Conclusion
So there you are! Those were 2 very easy and detailed methods given to enable 2FA on your website. I would personally recommend WP 2FA as it has a lot more features for FREE! Defender is great if you want an all in one security plugin with built-in 2FA features. I hope that this article helped you accomplish your task easily! Subscribe to my newsletter below for more blog posts just like this!
